
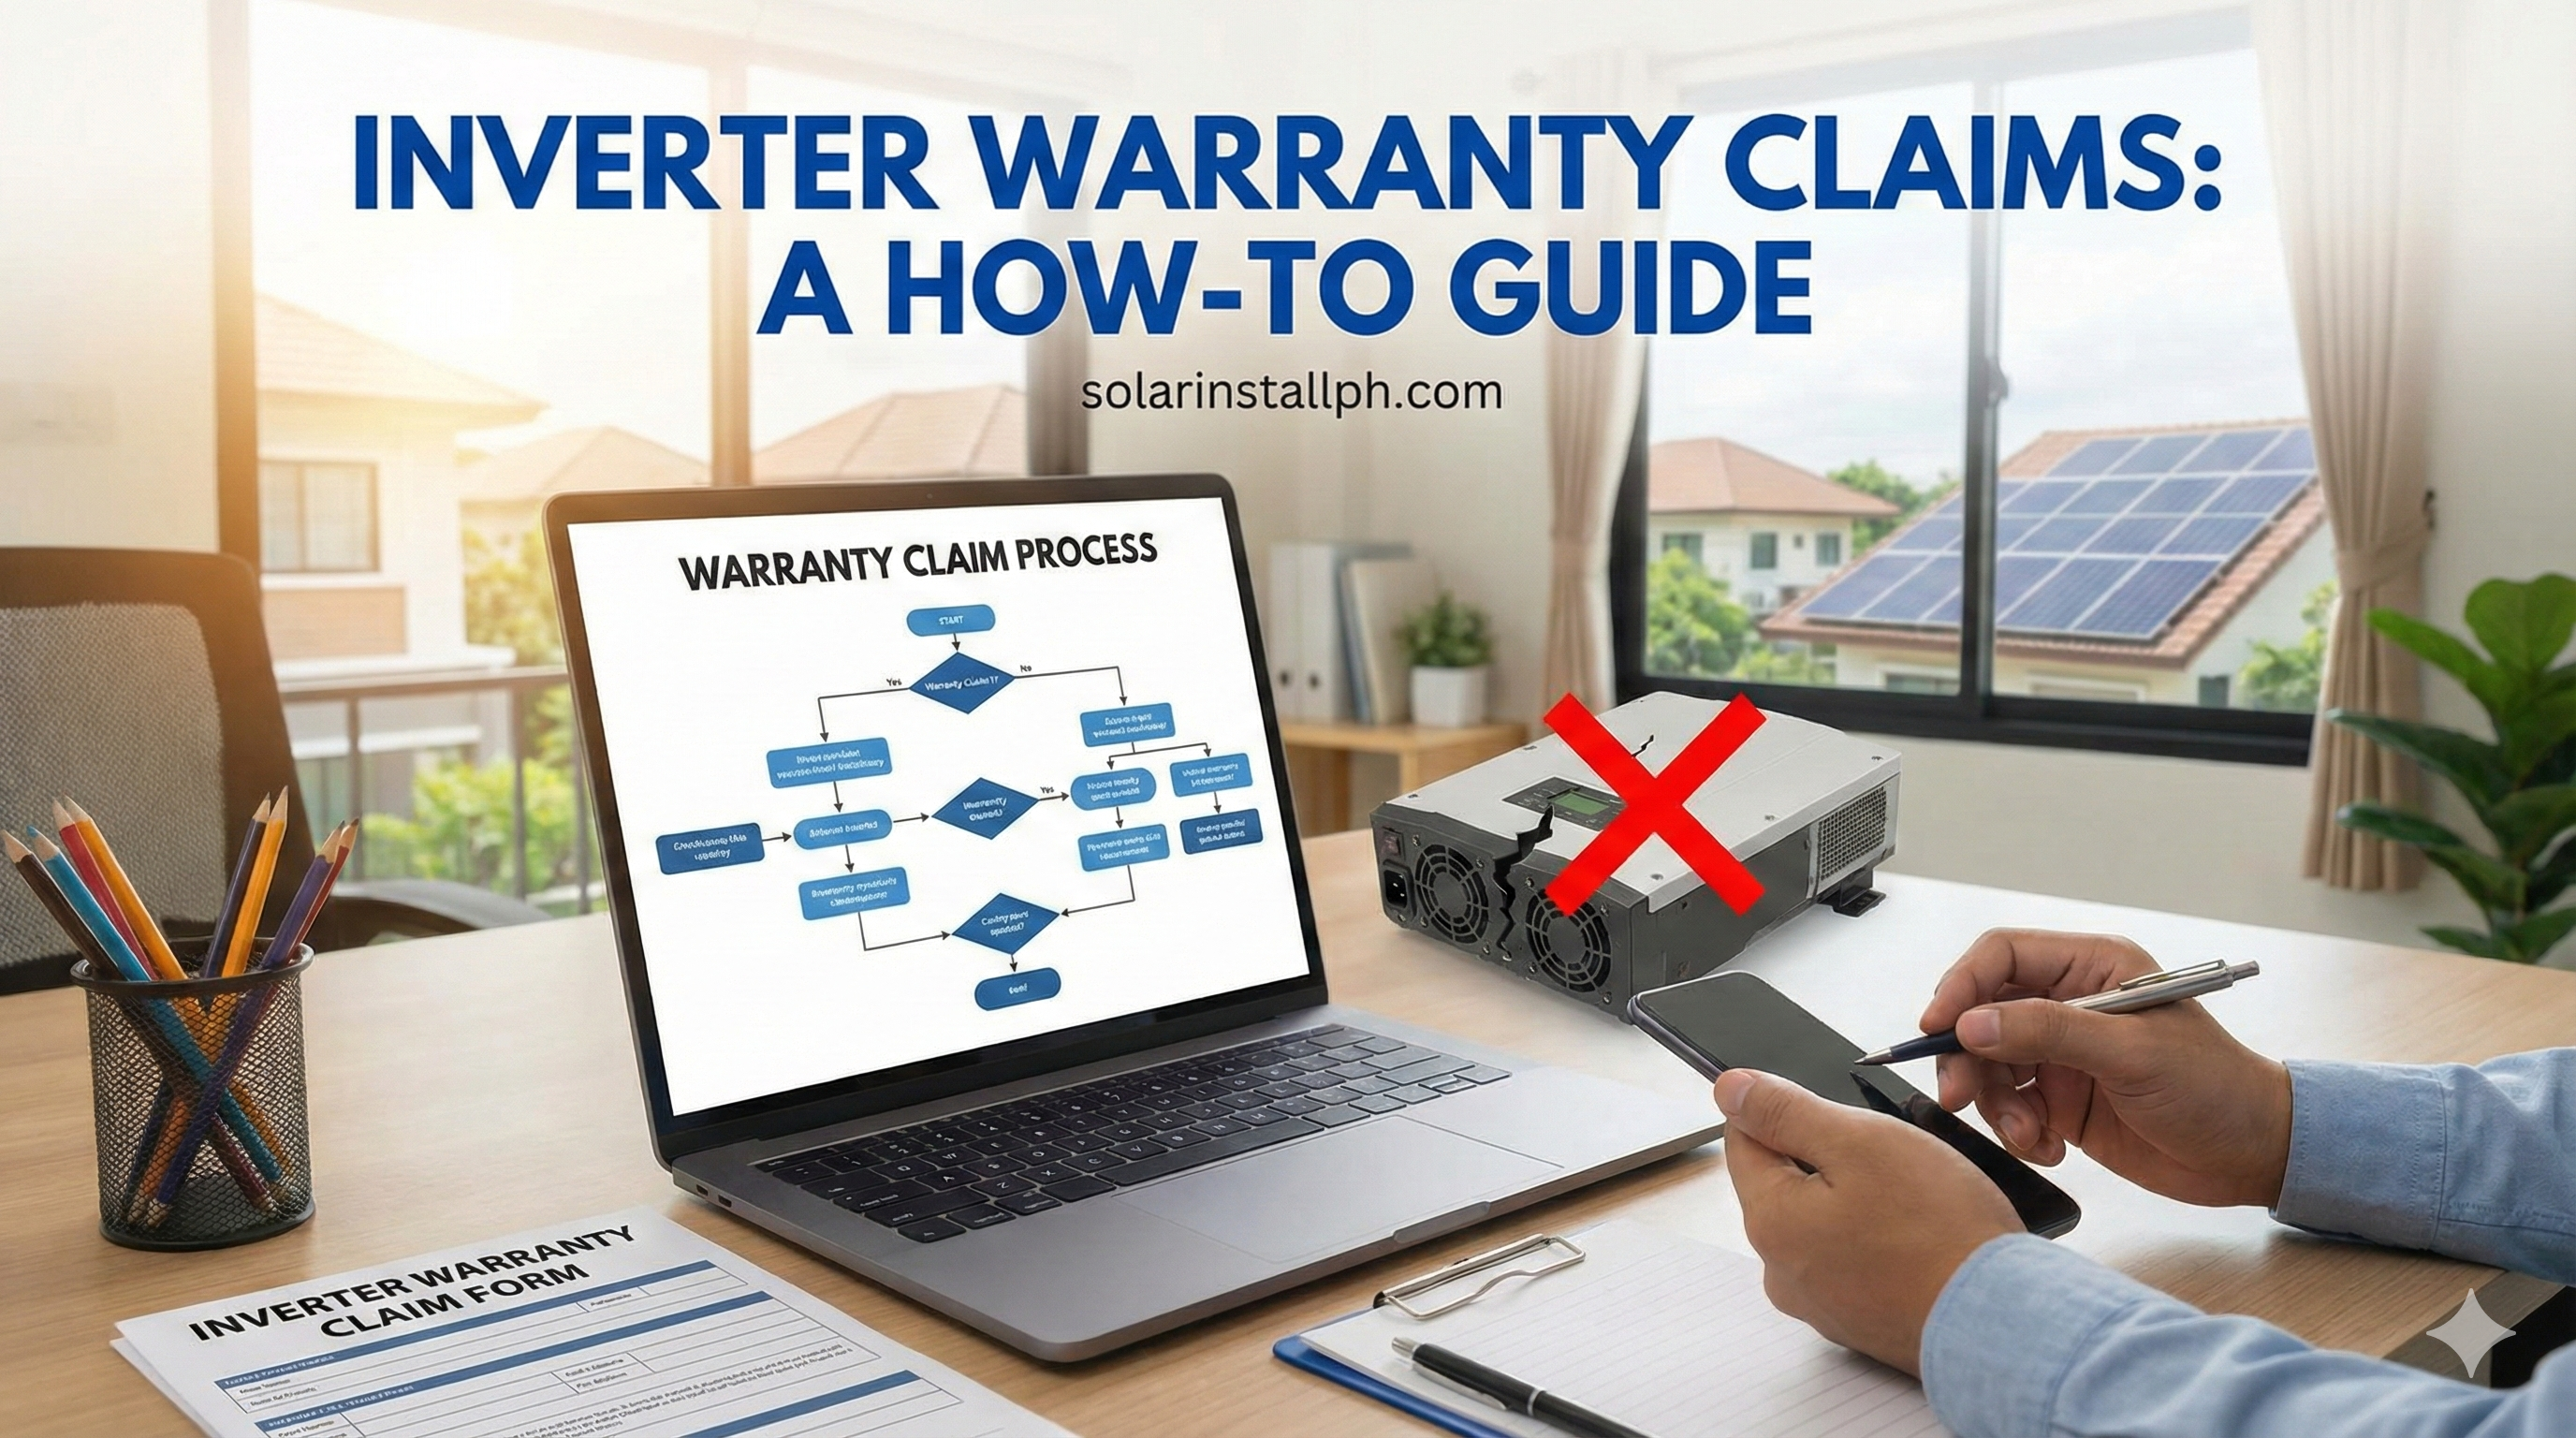
Inverter Warranty Claims: A How-To Guide
It starts with a red light.
You walk past your inverter one morning, expecting the usual happy green glow indicating you are harvesting free power from the Philippine sun. Instead, you see a solid red "Fault" LED or an error code flashing on the screen. Your system is down.
For most homeowners, this is the moment the abstract concept of a "5-Year Warranty" becomes a concrete reality.
But here is the hard truth: A solar warranty is not a magic wand. You cannot just call a hotline and expect a new unit to arrive via Lalamove the next day. In the Philippines, the warranty claim process is a bureaucratic gauntlet involving evidence, logistics, and sometimes, unexpected costs.
If your inverter has failed—or if you just want to be prepared for when it might—this is your step-by-step battle plan.
Step 1: Confirm It’s Actually Broken
Before you start angry-dialing your installer, make sure the inverter is actually the problem. In Metro Manila and provincial areas, grid fluctuations are common.
A "Grid Fault" or "AC Voltage High/Low" error often means Meralco or your local coop is experiencing instability, not that your inverter is dead.
Check the Code: Look at the screen. Is it saying "Grid Undervoltage"? That is an external issue. The inverter is doing its job by protecting itself.
Restart the System: Turn off the AC breaker, then the DC switch (under the inverter). Wait 5 minutes. Turn the DC switch back on, then the AC breaker.
The "Tuko" Check: I hate to say it, but in the Philippines, house geckos (tuko) are the #1 killer of inverters. If you smell burnt electronics or see lizard tails sticking out of the vents, stop. That is not a warranty case. That is "Force Majeure" (or pest damage), and manufacturers will deny it immediately.
If the error persists and it is clearly an internal fault (like "Bus Voltage Low" or "Relay Failure"), it is time to file a claim.
Step 2: Gather Your "Evidence"
Manufacturers like Huawei, Growatt, and Solis do not send replacement units based on trust. They need proof. If you go into this battle without documentation, you will lose weeks of production time.
You need to compile a Digital Claim Folder containing:
The Serial Number: Take a clear photo of the sticker on the side of the inverter.
Proof of Purchase: Your original invoice or contract showing the installation date.
The Error Code: A photo of the screen displaying the fault.
Video Evidence: A short 10-second video showing the inverter trying to start and failing is often required by support engineers to diagnose the "loop."
Pro Tip: If you haven't already, check our guide on proper solar panel maintenance to see how keeping a simple logbook of these errors can strengthen your case.
Step 3: The Chain of Command (Who to Call)
This is where Filipino homeowners often get stuck. You generally cannot call the factory in China directly. You must follow the hierarchy.
1. Your Original Installer
They are your first line of defense. A reputable installer will handle the RMA (Return Merchandise Authorization) process for you. They will send a technician, verify the fault, and pull the unit.
The Good Scenario: They have a spare "service unit" they can swap in so you still have power while waiting for the claim.
The Standard Scenario: They remove your inverter, send it to the distributor, and you wait 2–6 weeks with no solar.
2. The Local Distributor
If your installer is unresponsive, check your paperwork to see where the unit came from. Major Philippine distributors (like those carrying top inverter brands for 2025) often have local service centers in Manila or Cebu.
You may need to bypass the installer and email the distributor’s support team directly with your serial number and evidence.
3. The Manufacturer Support
Brands like Huawei and GoodWe have local country managers. If the distributor is dragging their feet, you can escalate to the brand's official Philippines support email. They can pressure the distributor to release a replacement.
Step 4: The "Orphan" Nightmare
What if you call your installer and the number is dead?
Thousands of systems installed during the 2019-2021 boom were built by "fly-by-night" contractors who have since closed shop. If you are in this boat, you have an Orphan System.
Don't panic, but expect to pay.
Find a Third-Party Pro: You will need to hire a new solar company to process the claim. They will charge you a "service fee" (usually ₱3,000 to ₱5,000) to come out, inspect the unit, and handle the paperwork.
Contact the Brand: Email the manufacturer’s global support. Give them your serial number and ask, "Who is the local distributor for this unit?" They can point you to the company that originally imported it, who is legally obligated to honor the warranty term.
We have a detailed breakdown of exactly what to do when your solar installer disappears, including how to find valid contacts.
The Hidden Costs: What Isn't Free
The biggest shock for homeowners is the bill they receive after the warranty is approved.
The Warranty Covers: The replacement unit (or parts).
The Warranty Usually DOES NOT Cover:
Labor: The cost for a technician to drive to your house, unmount the 25kg box, and install the new one.
Shipping: The cost to ship the defective unit back to the Manila warehouse and ship the new one to your province.
If you live in Mindanao or a remote island, shipping a heavy inverter can cost ₱2,000–₱4,000. Unless you have a "Premium Workmanship Warranty" from your installer, these logistics costs are on you.
Read the fine print of your contract. Understanding inverter warranty support nuances beforehand can save you from a shouting match with your service provider.
What Voids the Warranty? (The "Gotchas")
I have seen claims denied for heartbreakingly simple reasons. Do not let this happen to you.
Pest Infestation: As mentioned, lizards or ants inside the unit are rarely covered.
Over-Voltage (Lightning): If a storm surges your system and you didn't have proper surge protection devices (SPDs), they can tell from the burn marks. This is an insurance claim, not a warranty claim.
DIY Repairs: If you or your neighborhood electrician opened the casing and broke the "Warranty Void" seal to "check the fuse," you just killed your coverage.
For threats like typhoons and lightning, you need to rely on your property insurance, not the manufacturer. Make sure you understand the difference by reading our guide on solar home insurance.
Summary Checklist for a Successful Claim
Verify the error is not a grid issue (check voltage).
Document the Serial Number, Error Code, and Invoice.
Contact your Installer first.
Escalate to the Distributor/Manufacturer if the installer is gone.
Prepare to pay for labor and shipping if your workmanship warranty has expired.
Getting a replacement inverter in the Philippines takes patience. It is not Amazon Prime. But with the right documentation and a polite but firm approach with the distributor, you can get your system back online and stop paying Meralco for power you should be generating yourself.