
Community Energy: Local Installation Tips
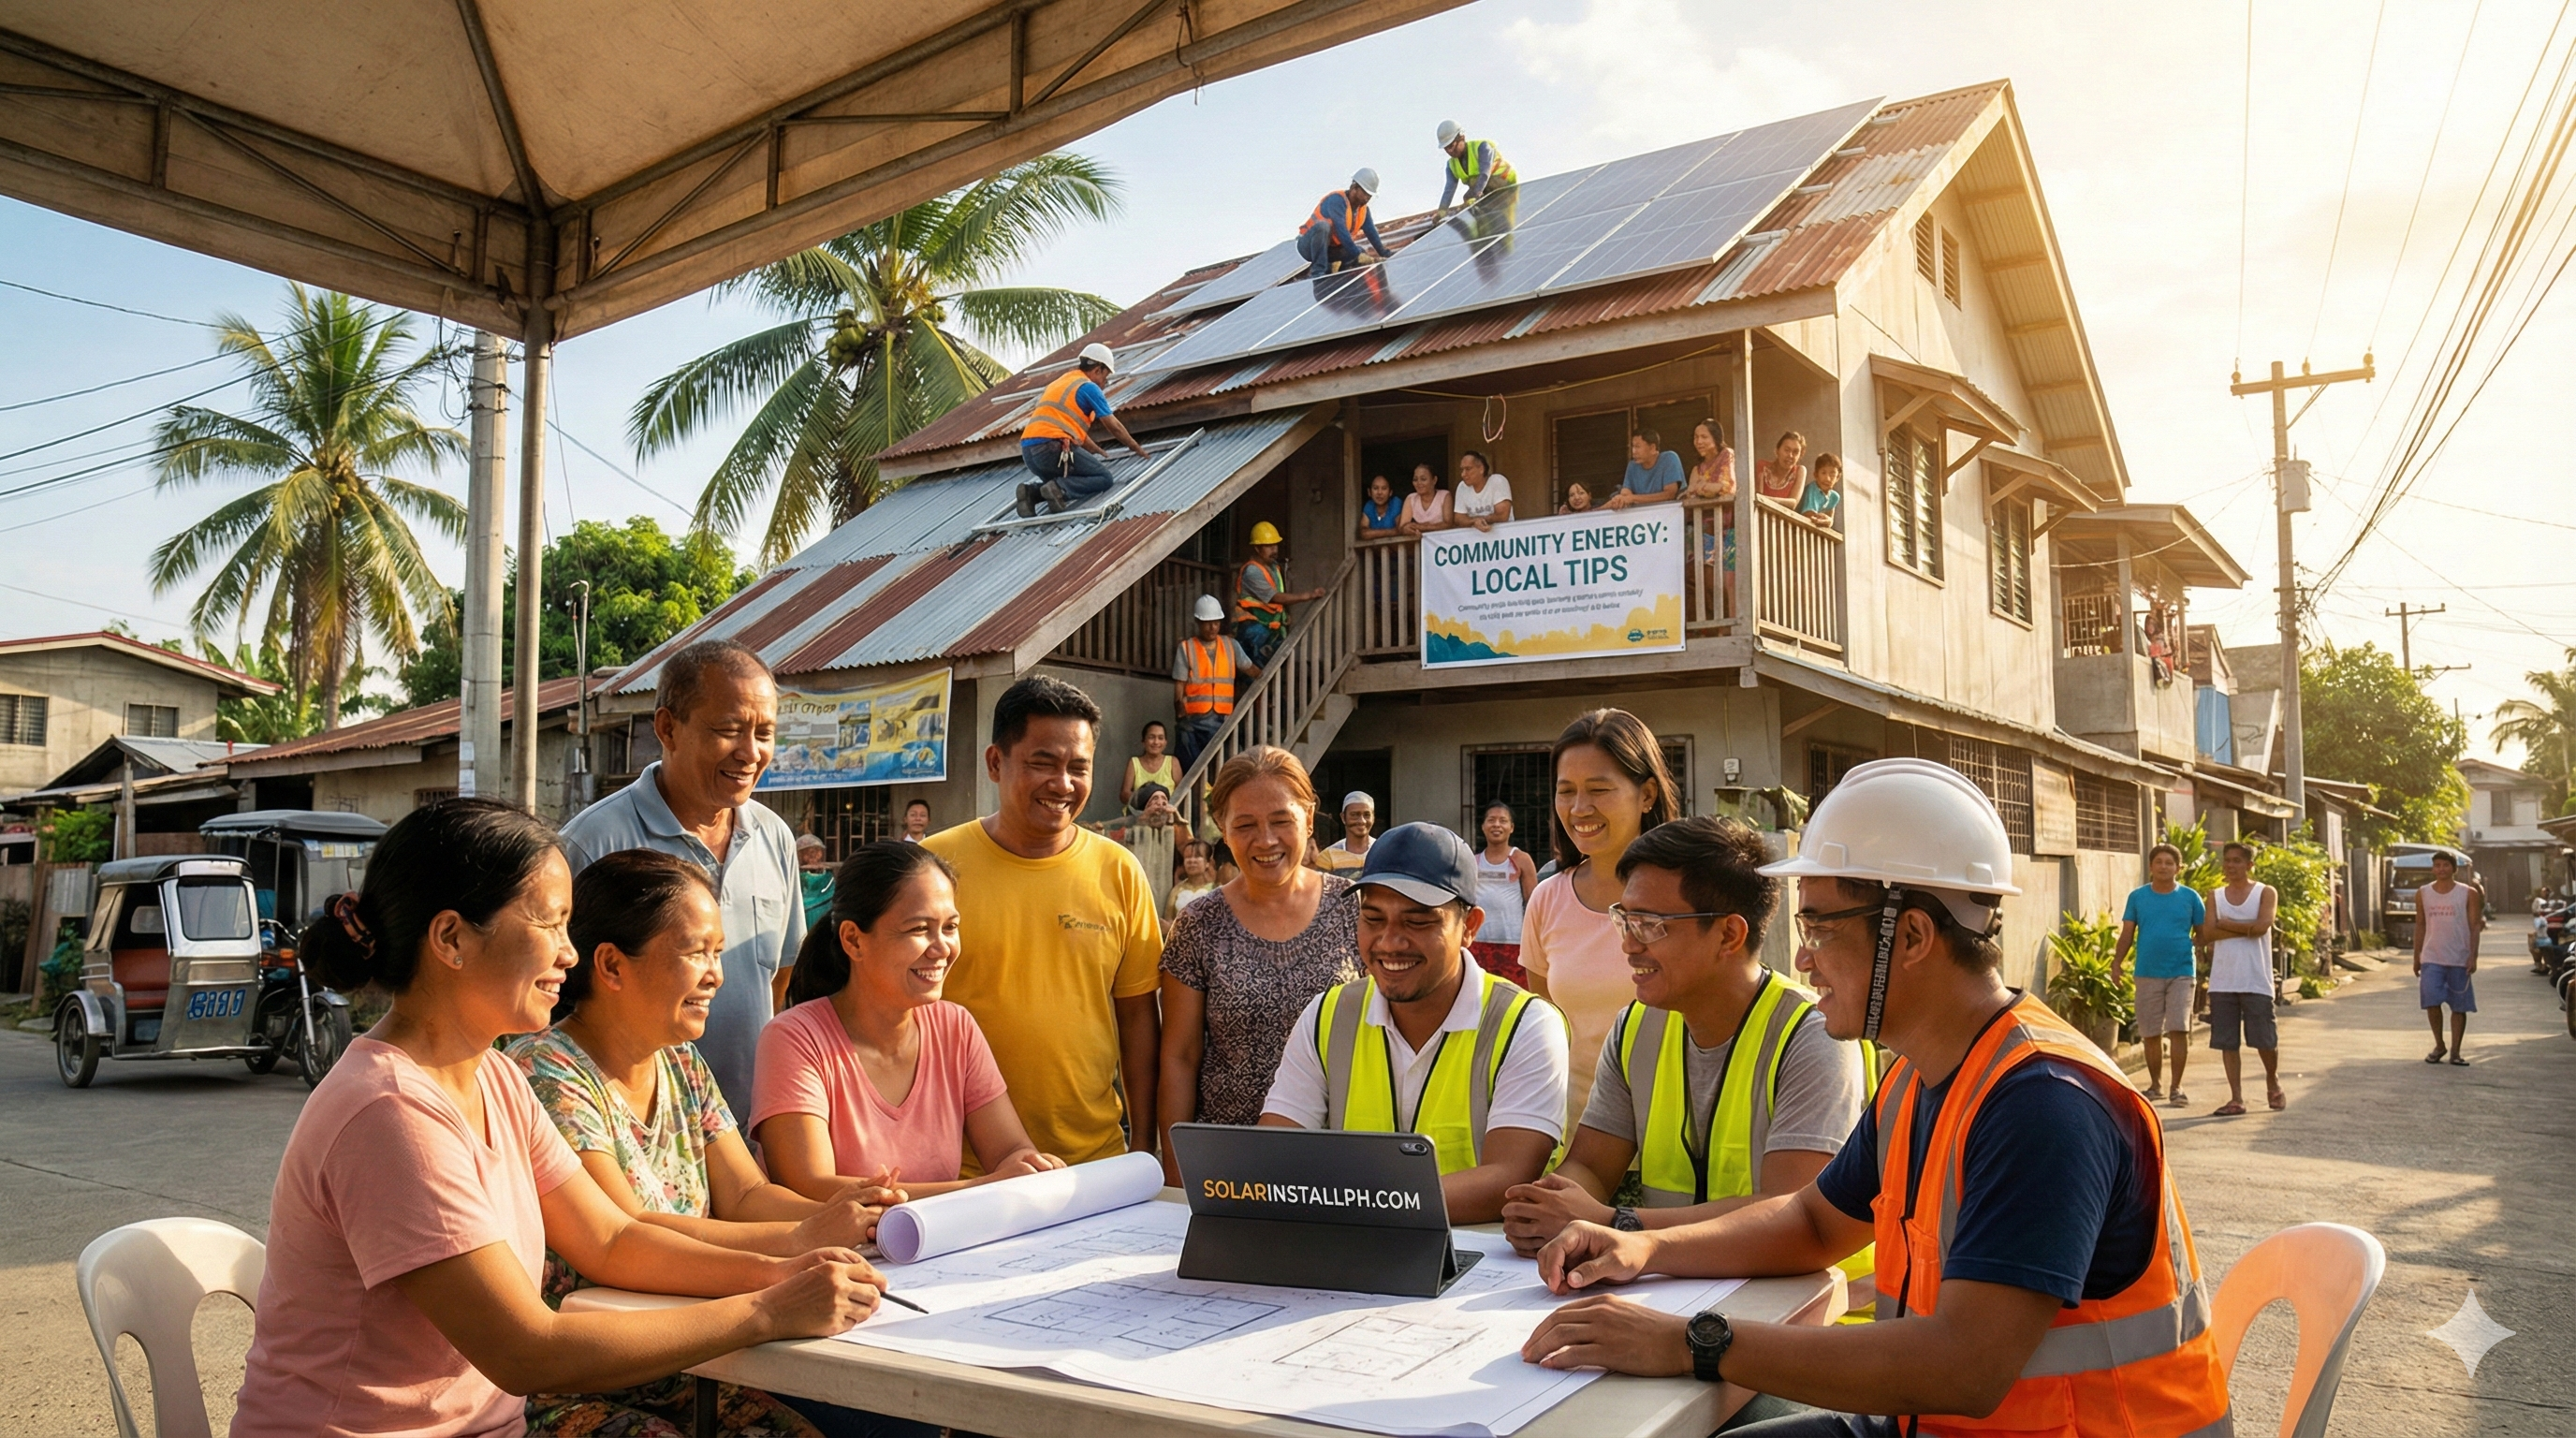
If you are an HOA officer, a cooperative board member, or just a proactive neighbor in a brownout-prone subdivision, you have likely looked at the empty roof of your clubhouse or basketball court and thought: "Why aren't we putting solar panels there?"
It is the logical next step after residential solar. If buying panels for one house saves money, buying for the whole community should save even more, right?
In the Philippines, the answer is yes, but it is complicated.
Unlike in the US or Europe, where "community solar" often means subscribing to a solar farm miles away and getting a credit on your bill, the Philippine context is physical and territorial. Here, community energy usually means shared assets on shared land, like powering streetlights, water pumps, or community centers to lower association dues.
This guide breaks down how to navigate the technical, financial, and (most importantly) regulatory hurdles of setting up local community energy projects in 2025.
What Community Energy Actually Looks Like Here
Forget the American model of "Virtual Net Metering" for a moment—that regulatory framework is still in its infancy here. In the Philippines, community energy generally falls into three practical buckets:
HOA/Common Area Solar: The most common setup. The Homeowners Association (HOA) installs a system on a clubhouse or admin office to zero out the "common area" electric bill (streetlights, pool pumps, admin AC).
Microgrids (RA 11646): For remote barangays or islands unserved by Meralco or the local coop. A private entity or coop sets up a standalone grid (solar + battery + diesel backup) to sell power directly to households.
Cooperative Distributed Energy Resources (DER): A slightly larger setup (100kW to 1MW) where an Electric Cooperative (EC) or a private qualified user exports power to the grid under the new DER rules.
For 90% of readers, you are likely in Bucket 1. You want to lower the monthly dues by killing the subdivision's electric bill.
The Regulatory "Hard Stops"
Before you start collecting contributions from neighbors, you need to understand the rules. The Department of Energy (DOE) and Energy Regulatory Commission (ERC) are strict about who can "sell" electricity.
1. The "One Meter" Rule
In a typical subdivision, you cannot simply put solar panels on the clubhouse and run extension cords to your neighbors' houses. That is considered "distribution of electricity," and unless you have a congressional franchise, it is illegal.
The system must sit behind a single existing meter—usually the one registered to the HOA or the facility.
2. Net Metering vs. DER
If your community system is under 100kW (which is quite large—enough for a massive clubhouse), you can apply for Net Metering. This allows you to export excess power to the grid for credits.
However, if you are planning a massive system (over 100kW) to power a large facility or agro-industrial operation, you enter the territory of Distributed Energy Resources (DER).
Net Metering (<100kW): You get credits to offset the bill.
DER (100kW – 1MW): You can export up to 30% of your capacity, but the permitting is heavier.
For a deeper dive on how cooperatives and groups handle these specific metering arrangements, read our guide on cooperative net metering nuances.
Planning Your Project: Step-by-Step
If you are the person tasked with making this happen, here is your roadmap.
Phase 1: The Load Analysis
Do not size the system based on roof space. Size it based on the load profile of your common assets.
Streetlights: These run at night. Unless you have batteries, solar panels won't power them directly. You will be feeding the grid during the day (exporting) to earn credits that offset the night consumption.
Clubhouse/Admin: These run during the day (AC, computers). This is perfect for direct solar consumption.
Water Pumps: The hidden energy hog. If your subdivision has a communal water tank, a solar pump system is often the highest ROI investment you can make.
Phase 2: Site Selection
You need a roof that belongs to the legal entity (the HOA or Coop).
Clubhouses: Good, but often have complex roof shapes.
Covered Courts: Excellent. expansive, usually unshaded, and high up.
Ground Mount: If you have an empty lot, this is cheaper to install but requires a fence and security.
For more on the different physical setups for shared power, check our overview of community solar models.
Phase 3: Financial Modeling
How do you pay for it? This is where most community projects die. You have three options:
Special Assessment: You ask every homeowner for a one-time "solar fund" payment. Hard to pass, but zero interest.
PPA (Power Purchase Agreement): A third-party investor installs the solar for free and sells the power to the HOA at a rate lower than Meralco. (Usually requires a large system to be worth it for the investor).
Bank Financing: This is becoming the gold standard. Banks like Landbank and DBP have specific "green financing" windows for associations and cooperatives. You take a loan, and the monthly savings from the solar system pay the monthly amortization.
If your board is hesitant about emptying the reserve fund, look into solar bank loan options available for registered entities.
Technical & Safety Considerations
Community systems are larger and more dangerous than residential ones. You are dealing with higher voltages and public liability.
Professional Engineering is Non-Negotiable
Do not let "Engineer Jun from Block 4" DIY this on the weekend. You need a signed and sealed electrical plan.
Wind Load: A covered court roof acts like a giant sail. Adding panels increases the wind uplift. You need a structural analysis to ensure the trusses won't collapse during the next typhoon.
Inverter Placement: In a public area, the inverter needs to be secure—caged and locked—to prevent tampering or theft.
The Permitting Trap
Because this is a "semi-public" project, you cannot fly under the radar. The LGU (Local Government Unit) will require a building permit, and the distribution utility (DU) will require a "Yellow Card" or CFEI (Certificate of Final Electrical Inspection).
If you try to skip this, you risk the HOA being fined or the utility cutting your connection. We have written extensively on the risks of skipping LGU permits, and for a community project, the liability is simply too high to ignore.
Success Factors for PH Community Solar
Based on projects we have seen succeed in Cavite, Laguna, and Metro Manila, here is what works:
Transparency: Show the homeowners the math. "We pay P50,000/month for streetlights. With solar, we pay P5,000. That frees up P45,000 for road repairs."
Battery Storage for Security: In "premium" subdivisions, the goal isn't just savings—it's resilience. Installing a hybrid system that keeps the clubhouse (and internet/charging stations) running during a grid blackout adds immense value to the property.
Start Small: You don't need to offset 100% of the usage immediately. A smaller system that powers just the admin office and the gatehouse is easier to approve and finance.
Conclusion
Community energy in the Philippines is shifting from "nice to have" to a practical necessity. With electricity rates hovering between P11 and P13 per kWh, HOAs that stick to the grid for 100% of their power are bleeding money that could be used for better amenities.
It requires patience—navigating HOA board politics is often harder than the electrical engineering—but the long-term payoff is undeniable.
If you are looking for inspiration on what other barangays and groups are doing, read up on local solar initiatives to see real-world examples of community power in action.
Next Step: Ask your HOA treasurer for the last 12 months of electric bills for the common areas. That stack of paper is your feasibility study. If the total is over P200,000 a year, you have a project.