
Solar Battery Install: 5 Steps
Making the decision to add a battery to your solar panel system is a defining moment in your journey toward energy independence. In the Philippines, where grid instability can be a fact of life and electricity costs are a constant concern, a solar battery transforms your home from a passive energy consumer into a self-sufficient power station. It’s your personal shield against brownouts and your key to slashing your Meralco bill by using your own stored solar energy at night.
However, the process of integrating this powerful technology into your home is more intricate than simply mounting a box on the wall. A solar battery installation is a precise electrical project that demands expertise, careful planning, and a deep respect for safety. It’s a task that absolutely requires a professional touch.
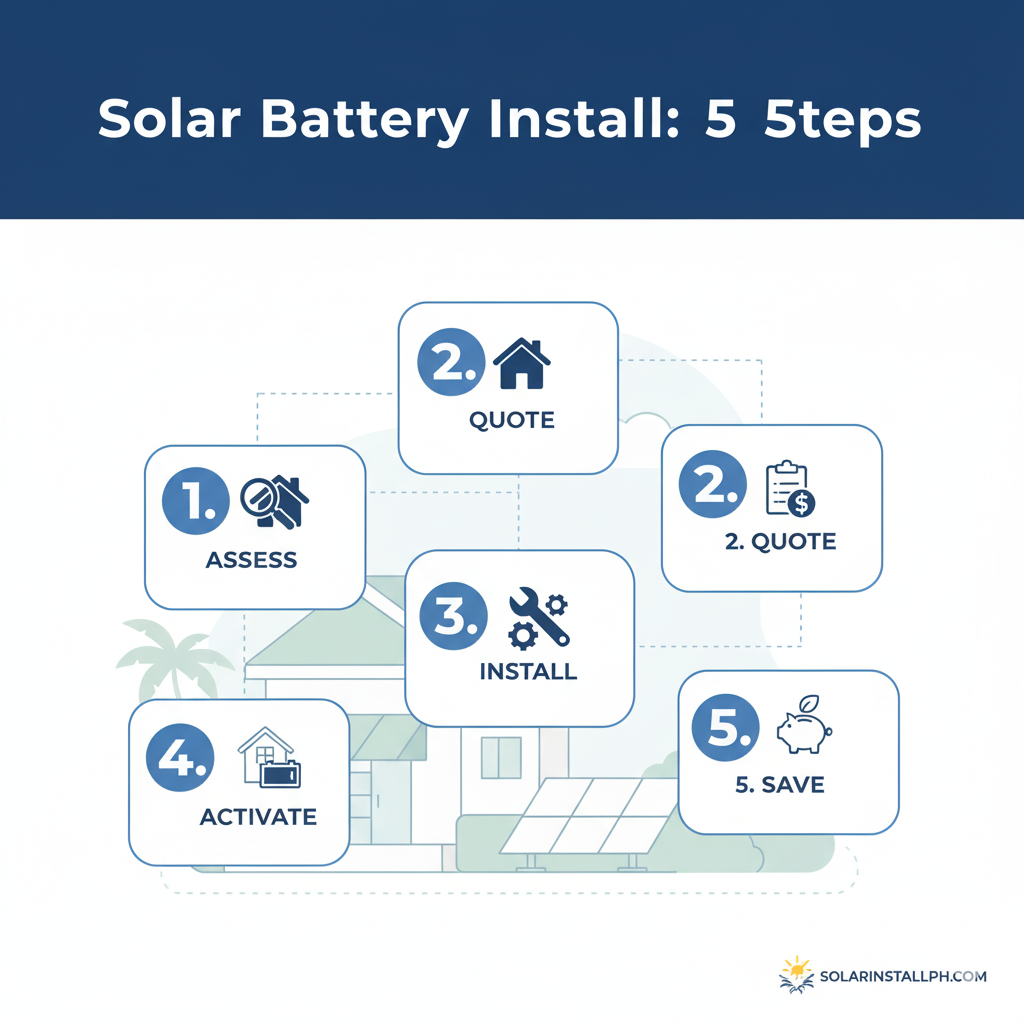
To help you navigate this process with confidence, we’ve broken down a professional solar battery installation into five clear and essential steps. This guide will illuminate the path from initial consultation to the moment you take full control of your power, ensuring your investment is safe, effective, and built to last. For a comprehensive overview, starting with a foundational solar install guide is always recommended.
Step 1: Design and Planning – Your Energy Blueprint
The success of your battery installation is determined long before any tools are unboxed. This foundational step is all about creating a tailored plan that matches your specific energy goals and the unique characteristics of your home. It's a collaborative process between you and your professional solar installer.
First, your installer will conduct a thorough energy needs analysis. By examining your past electricity bills and discussing your lifestyle, they will determine the right size battery for you. Do you want to power your whole home during a blackout, or just the essentials? Are you aiming to zero out your evening energy costs? The answers will dictate the necessary capacity (kWh) and power output (kW) of your battery.
Next comes the physical site assessment. The installer will identify the safest and most optimal location for all the new components. A modern lithium-ion battery needs a cool, dry, and well-ventilated space, typically in a garage or utility room, away from direct sunlight and potential flooding. They will also meticulously inspect your main electrical panel (breaker box) to map out the wiring strategy and ensure everything complies with the Philippine Electrical Code. This detailed planning is the core of the entire solar install process and prevents costly mistakes down the line.
Step 2: The Core Component – Inverter and Sub-Panel Integration
At the heart of any battery storage system is the hybrid inverter. This device is the master controller, intelligently directing the flow of power between your solar panels, battery, home, and the electrical grid. If you have an existing solar-only system, this step typically involves upgrading your current inverter to a hybrid model capable of managing a battery.
The inverter is securely mounted, and the critical wiring begins. But alongside the inverter comes another crucial piece of hardware: the critical load panel (or sub-panel). This is a game-changer for ensuring your backup power lasts as long as possible. Instead of trying to power your entire house with the battery—which would drain it very quickly—your electrician isolates the circuits for your most essential appliances. These circuits for your lights, refrigerator, internet modem, and key outlets are moved to this new sub-panel.
This sub-panel is wired directly to the inverter's backup output. When a blackout hits, the inverter instantly disconnects from the grid and funnels all its power exclusively to this panel, keeping your essentials running without interruption while ignoring power-hungry appliances like air conditioners.
Step 3: Power On – Battery Mounting and Connection
This is the moment the star of the show arrives. The battery unit, whether it's a sleek, wall-mounted model or a stackable floor unit, is carefully positioned and secured in its designated location. The physical mounting is just the start; the electrical connection is where precision is paramount.
Two main connections are made to the battery. First, a set of heavy-gauge DC (Direct Current) cables are run from the battery's terminals to the hybrid inverter. These cables carry the high-power electricity that will charge and discharge the battery. Second, a vital communication cable is connected. This allows the battery’s internal Brain—the Battery Management System (BMS)—to constantly "talk" to the inverter.
This data link is the secret to a smart, safe, and long-lasting system. The BMS monitors the battery’s temperature, voltage, and state of charge, instructing the inverter to charge and discharge it in the most efficient way possible. It also acts as a failsafe, protecting the battery from being overworked. A detailed solar battery guide can provide more insight into the different technologies and their specific requirements.
Step 4: The Final Checks – System Commissioning
With all components physically installed, the system is ready to be brought to life through a process called commissioning. This is not a simple "flip the switch" moment; it's a meticulous, multi-stage procedure that ensures everything is working correctly and safely.
The installer begins by performing a final sweep of all electrical connections, verifying correct polarity and voltage with a multimeter. Once confirmed, they power up the hybrid inverter and access its configuration software. Here, they program the system with the exact specifications of your battery and set the operating logic based on the goals established in Step 1. This tells the inverter, for example, to prioritize charging the battery during the day and then use that battery power to run the home in the evening.
The most critical part of commissioning is the grid failure simulation. The installer will manually disconnect your home from the main power grid to simulate a real blackout. They will then confirm that the system performs flawlessly: the inverter should take over in milliseconds, powering the critical load panel without any interruption to the connected appliances. This test provides absolute certainty that your backup system will work when you need it most.
Step 5: Handover and Monitoring – You’re in Control
The final step is the official handover. Your installer will provide a complete walkthrough of your new solar-plus-battery system. They will explain how to understand the system's status, what the different lights and readings on the inverter mean, and what to do in case of an alert.
Crucially, they will set you up with the system's monitoring application, typically on your smartphone or computer. This app is your window into your home's energy ecosystem. You can see, in real-time, how much power your solar panels are generating, the charge level of your battery, and how much electricity your home is consuming. This powerful tool allows you to track your energy savings and truly appreciate the impact of your investment. Understanding the warranty that covers these high-tech components is also vital, a topic covered in-depth in guides on solar warranties.
By following these five professional steps, you ensure your solar battery installation is not just an addition to your home, but a seamless and powerful integration. It’s a carefully executed process that guarantees safety, maximizes performance, and puts the ultimate control over your power directly into your hands, significantly boosting your home's solar ROI guide in the process.