
DIY Home Power Setup: A Guide
The allure of energy independence is a powerful motivator for any Filipino homeowner. With electricity rates among the highest in Southeast Asia and a grid susceptible to interruptions, the idea of generating your own power is more than just a trend—it's a practical "comeback" of self-reliance. While a professional, full-scale solar installation is the most common path, a growing number of enthusiasts are exploring the world of Do-It-Yourself (DIY) home power setups. This guide is for those with a spirit of ingenuity and a desire to understand the nuts and bolts of their own energy generation.
Disclaimer: This article is for informational purposes only. Working with electricity is inherently dangerous. A DIY setup, especially one intended to connect to your home's main electrical system (grid-tied), carries significant risks, including electrical shock, fire hazards, and potential damage to your appliances and the utility grid. In the Philippines, any system connected to the grid must be installed by certified professionals and comply with strict regulations set by your local government unit (LGU) and distribution utility (e.g., Meralco). This typically requires plans signed by a Professional Electrical Engineer (PEE). For these reasons, this guide will focus on a small, off-grid DIY setup designed to power specific, non-critical loads—a perfect starting point for any aspiring energy enthusiast.
Step 1: Defining Your Goal and Calculating Your Load
Before you buy a single component, the most critical step is to define what you want to power. A DIY project should start small and focused. Are you looking to power a few lights and charge your gadgets during a brownout? Or perhaps run a small workstation with a laptop and a fan? The ambition of your project will determine everything that follows. Resist the temptation to try and power your entire house. A DIY setup is not a replacement for a full-scale professional installation, especially when it comes to heavy loads like air conditioners or refrigerators.
Once you have a clear goal, you need to calculate your "load"—the total amount of energy your chosen devices will consume. This is the foundation of your system design. For each device, find its power rating in watts (W). This is usually printed on the device's label or power adapter. Then, estimate how many hours per day you will use each device.
To calculate your daily energy need in watt-hours (Wh), use this simple formula:
Device Wattage (W) x Hours of Use per Day = Daily Watt-hours (Wh)
For example:
Two 10W LED bulbs x 5 hours/day = 100 Wh
One 20W electric fan x 8 hours/day = 160 Wh
One 65W laptop charger x 4 hours/day = 260 Wh
Total Daily Load = 100 + 160 + 260 = 520 Wh
This total daily load is the minimum amount of energy your solar panels must generate and your battery must store each day. Accurately calculating this figure is crucial; underestimating it is one of the most common solar install mistakes a DIYer can make.
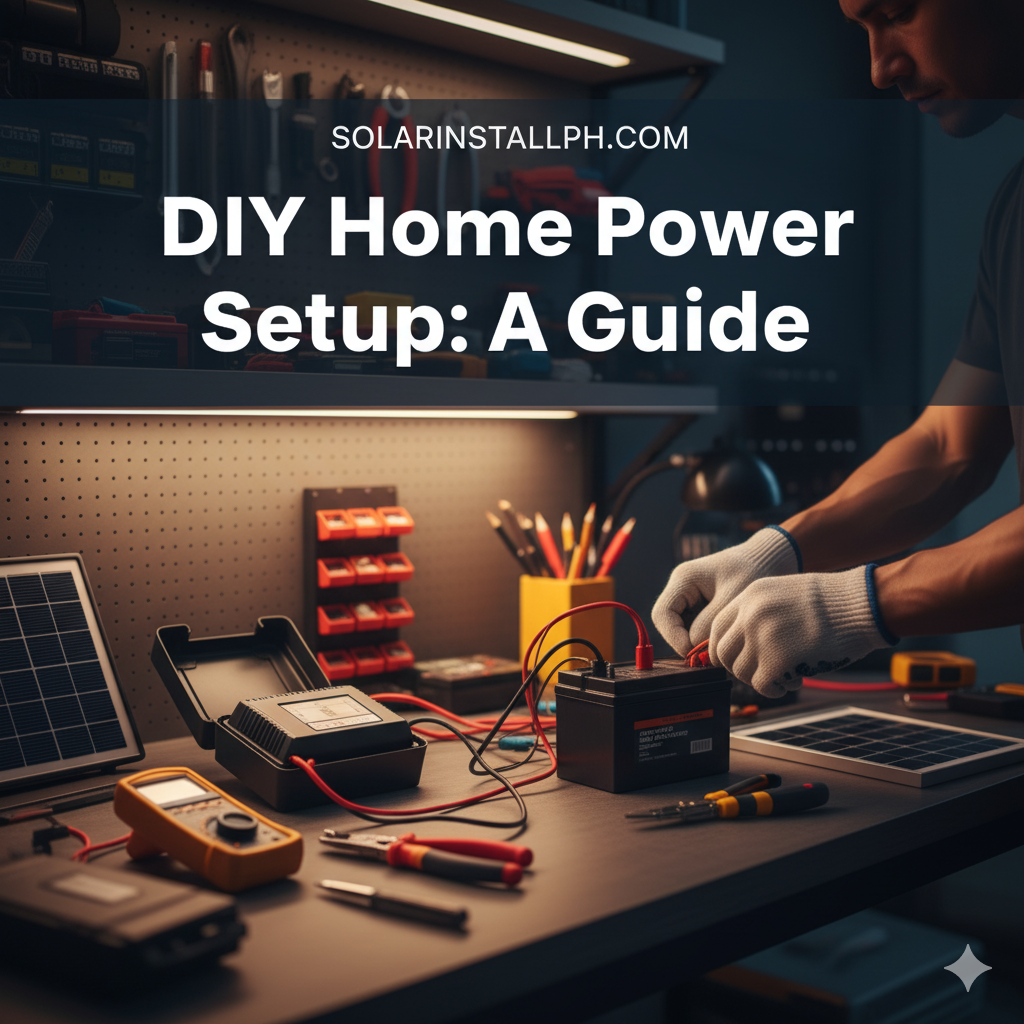
Step 2: Assembling Your Core Components
With your daily load calculated, you can now select the heart of your DIY system: the solar panels, charge controller, battery, and inverter. This is not the time to hunt for the absolute cheapest option; quality and compatibility are key to a safe and functional setup.
Solar Panels: Your panels are the engine of your system. To size them correctly, you'll need to account for the average "sun-peak hours" in the Philippines, which is typically around 4.5 hours per day. This is the equivalent number of hours when the sun is at its peak intensity. To find the required panel wattage, use this formula:
Total Daily Load (Wh) / Sun-Peak Hours = Required Solar Panel Wattage (W)
Using our example: 520 Wh / 4.5 hours = ~115W. To be safe and account for cloudy days, it’s wise to oversize your panel capacity by at least 25%. So, a 150W or 200W panel would be a good choice. Our solar panel guide can offer more in-depth information on panel types and efficiencies.
Battery: The battery stores the energy your panels produce for use at night or during overcast weather. Deep-cycle batteries (like lead-acid or lithium-ion) are designed for this purpose. To size your battery, you'll need to convert your daily energy need to amp-hours (Ah).
Total Daily Load (Wh) / Battery Voltage (V) = Required Amp-hours (Ah)
Most simple DIY setups use a 12V battery system. So: 520 Wh / 12V = 43.3 Ah. However, you should never fully drain a battery. For lead-acid batteries, it's recommended not to discharge below 50% to preserve their lifespan. This means you need to double the required capacity. In this case, a 100Ah 12V battery would be a suitable choice.
Charge Controller: This device is the brain of your setup. It sits between the solar panels and the battery, regulating the voltage and current to prevent the battery from overcharging, which can damage it and create a fire hazard. There are two main types: PWM (Pulse Width Modulation) and MPPT (Maximum Power Point Tracking). MPPT controllers are more efficient at converting the panel's voltage, especially in less-than-ideal conditions, and are generally the recommended choice despite being more expensive. The controller's rating (in amps) must be able to handle the maximum current from your solar panel.
Inverter: Solar panels and batteries produce direct current (DC) electricity, but most of your home appliances run on alternating current (AC). The inverter is the device that makes this conversion. The inverter must be able to handle the total wattage of all the devices you plan to run simultaneously. In our example, the total wattage is 10W + 10W + 20W + 65W = 105W. To be safe, choose an inverter with a continuous power rating at least 20-30% higher than your peak load. A 200W or 300W pure sine wave inverter would be a good fit. "Pure sine wave" inverters produce a cleaner, higher-quality power that is safer for sensitive electronics like laptops and modern TVs.
Step 3: The Build - Wiring and Assembly
This is where your planning comes to life. Safety is paramount during this stage. Always ensure all components are disconnected from any power source before you begin wiring.
Mount the Components: Find a cool, dry, and well-ventilated location for your battery, charge controller, and inverter. These components generate heat, so adequate airflow is crucial. Mount the charge controller and inverter to a non-flammable surface, like a piece of plywood or a metal board. The battery should be placed in a protective case or box, especially if it's a lead-acid type, to contain any potential leaks.
Connect the Charge Controller to the Battery: Using the appropriate gauge of wire (thicker wires for higher currents), connect the battery terminals to the battery input terminals on your charge controller. Always connect the battery to the charge controller before connecting the solar panels. This allows the controller to detect the battery's voltage and configure itself correctly.
Connect the Solar Panel: Run your solar panel wires from the roof or outdoor location to your charge controller. It's highly recommended to install a circuit breaker or fuse on the positive wire between the solar panel and the charge controller. This provides an easy way to disconnect the panels for maintenance and adds a layer of overcurrent protection. Connect the panel's positive and negative wires to the corresponding PV input terminals on the charge controller.
Connect the Inverter: Connect the inverter directly to the battery terminals, not to the load terminals of the charge controller, as the inverter's power draw can be too high for the controller's load output. Install a fuse on the positive wire between the battery and the inverter as a safety precaution.
Test Your System: Once everything is wired, switch on the circuit breaker from the solar panel. The charge controller should indicate that it is receiving power and charging the battery. Turn on your inverter, and you should be able to plug in and power your chosen appliances.
Beyond the Basics: Professional Installation and Net-Metering
A DIY off-grid system is an excellent educational project and a great way to provide backup power for small essentials. However, to realize the full financial and environmental solar benefits, a professionally installed grid-tied system is the way to go. This involves a much more complex and regulated process.
The solar install process for a grid-tied system includes obtaining permits, a detailed engineering design, and professional installation to ensure safety and compliance with the Philippine Electrical Code. The ultimate goal of such a system is to participate in the Net-Metering program, which allows you to export your excess solar energy to the grid for credits on your bill. This is how homeowners can achieve dramatic solar savings in 2025 and beyond. While a DIY project offers a taste of energy independence, a full grid-tied system, managed by certified solar installers, is the path to truly transforming your relationship with energy.