
Brightening Remote Villages: A DIY Guide
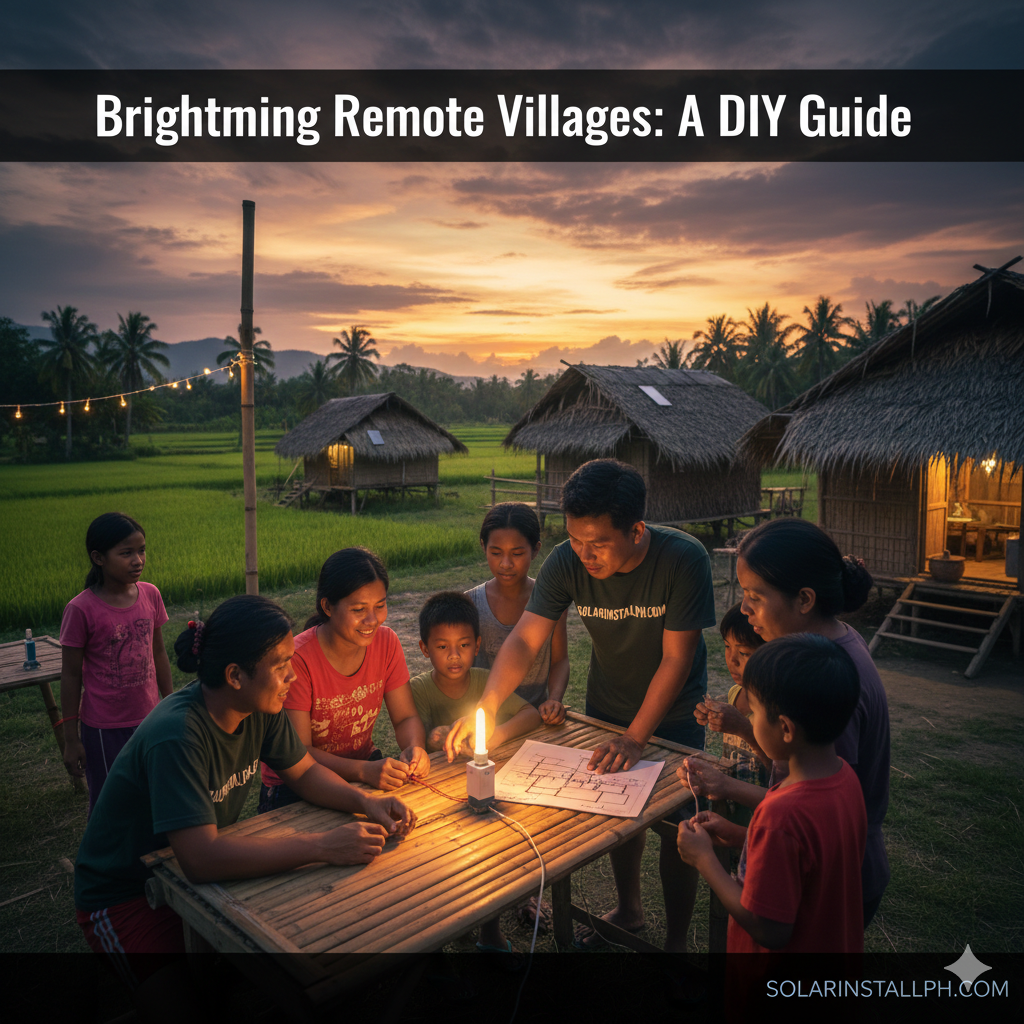
In the remote sitios and islands of the Philippines, waiting for the main power grid to arrive is often a multigenerational hope that remains unfulfilled. Whether you are a provincial homeowner, a farm owner in the mountains, or a community leader in a GIDA (Geographically Isolated and Disadvantaged Area), taking power into your own hands through a DIY solar setup is the most practical way to transition from kerosene lamps to reliable LED lighting.
Going DIY is not just about saving on labor costs. In a village three hours away from the nearest town, being the one who built the system means you are the one who can fix it. This guide focuses on creating a reliable, small scale off-grid system that can power lights, fans, and phone charging—the essentials for rural life.
Why DIY Solar Is a Lifeline for Rural Philippines
The Philippine energy landscape is defined by "missionary electrification" areas where the cost of extending wires through jungles or over seas is prohibitive. For these communities, a professional vs. DIY solar approach often comes down to accessibility. While a professional install is ideal for a city residence, a remote village setup needs to be simple enough for local maintenance.
A basic DIY system provides more than just convenience. It offers:
Safety: Reducing the fire risk from tipped-over kerosene lamps.
Education: Allowing children to study after the sun sets at 6:00 PM.
Economy: Enabling small "sari-sari" stores to stay open longer or even run a small DC-powered freezer.
Step 1: Calculating Your Load (The "Math" of Light)
Before buying a single panel, you must know what you are trying to power. In a remote village, "load shedding" is a way of life, so your calculations must be disciplined.
The Basic Rural Load Profile
3 LED Bulbs (7 Watts each): Used for 5 hours = 105 Watt-hours (Wh).
1 Electric Fan (50 Watts): Used for 8 hours = 400 Wh.
2 Smartphone Charges (10 Watts each): Used for 3 hours = 60 Wh.
Total Daily Consumption: 565 Wh.
To satisfy this 565 Wh load, you cannot just buy a 100W panel and expect it to work. You must account for system losses—heat, wire resistance, and inverter inefficiency—which usually eat up about 25% of your power. For most of the Philippines, we calculate based on 4.5 "Peak Sun Hours" per day.
Step 2: Selecting Components That Survive the Province
In the province, the "mura" (cheap) option often ends up being the most expensive when it fails during a rainy week. You need components that can handle the humidity and the occasional gecko crawling into the electronics.
Solar Panels: Mono vs. Poly
For remote areas with limited roof space, Monocrystalline panels are preferred for their efficiency. However, Polycrystalline panels are often more affordable and perfectly adequate if you have the space. Ensure the panel is rated for at least 150W to 200W for a basic home setup.
The Charge Controller (The "Guard")
Do not skip the charge controller. Its job is to prevent the panel from overcharging the battery during the day and to prevent the battery from "leaking" power back to the panel at night. For a DIYer, an MPPT (Maximum Power Point Tracking) controller is worth the extra ₱1,500 over a PWM controller because it harvests up to 30% more energy, which is vital during the overcast rainy season.
The Battery: The Heart of the System
In a rural off-grid solar configuration, the battery is your most expensive and fragile component. While deep-cycle lead-acid batteries are common in the province, Lithium Iron Phosphate (LiFePO4) is the 2026 standard. They last 10 times longer and can be discharged almost completely without damage, whereas lead-acid batteries die quickly if you use more than 50% of their capacity.
Step 3: Safe Installation and Wiring
One of the most common causes of system failure in rural areas is undersized or loose solar wiring. Using standard "extension cord" wires for DC connections causes high resistance, which leads to heat and potential fires.
Best Practices for DIY Wiring:
Use Solar Cables: Use UV-rated twin-core solar cables (at least 4mm² or 6mm²) for the run from the panel to the controller.
Short Runs: Keep the distance between the battery and the inverter as short as possible. This is where the highest current flows.
Color Coding: Always use Red for Positive (+) and Black for Negative (-). In a village setting where multiple people might look at the system, standard colors prevent catastrophic "reverse polarity" mistakes.
Fuses and Breakers: Install a DC breaker between the panel and the controller, and another between the controller and the battery. If a short circuit occurs, the breaker trips instead of burning down your house.
Step 4: Typhoon-Proofing Your Setup
The Philippines is hit by an average of 20 typhoons a year. A solar panel is essentially a giant wing; if it isn't secured properly, a Signal No. 2 storm will rip it off your roof.
Invest in proper typhoon-resistant mounting hardware. For a typical "yero" (corrugated iron) roof:
Use stainless steel L-feet or C-purlin clamps.
Ensure the screws are driven directly into the structural rafters, not just the thin tin sheet.
If the roof is too weak, consider a "ground mount" using a concrete pedestal. It is much easier to unbolt a panel and bring it inside when a super typhoon is approaching if it is mounted at ground level.
Step 5: Maintenance for Longevity
The province is a dusty, salty, and buggy environment. Without proper solar panel maintenance, a system's output can drop by 20% in just a few months.
The Rural Maintenance Checklist:
Clean the Glass: Dust from dirt roads and bird droppings act like a permanent shadow. Wipe the panels with a soft cloth and plain water once a month.
Check Connections: The vibration from nearby generators or heavy winds can loosen terminals. Tighten every screw connection every six months.
Vegetation Control: In the Philippines, plants grow fast. A small vine can shade a corner of your panel in weeks. Shading just 10% of a panel can sometimes shut down 50% of its power output.
Common Pitfalls and Safety Warnings
DIY does not mean "anything goes." There are non-negotiable safety rules for any village electrification project:
Battery Order: Always connect the battery to the charge controller first, before connecting the solar panel. If you connect the panel first, the controller might not know whether it is a 12V or 24V system and could fry itself.
Inverter Sizing: Do not try to run a rice cooker or an iron on a small 500W inverter. Heating appliances draw massive amounts of power that will instantly trip your system or damage your batteries. Keep it to lights, fans, and electronics.
Ventilation: Batteries, especially lead-acid, can release gasses. Never store your battery bank in a sealed box or under your bed. Keep them in a well-ventilated area away from direct sunlight.
Conclusion
Brightening a remote village through DIY solar is a powerful act of self-reliance. It transforms a household from a consumer of expensive kerosene and disposable batteries into an independent power producer. While the initial cost—ranging from ₱15,000 for a basic light kit to ₱80,000 for a robust home system—can be a hurdle, the "free" energy from the sun pays for itself within three years.
By following proper wiring standards and securing your panels against the inevitable typhoons, you ensure that your investment provides light for your family for a decade or more.